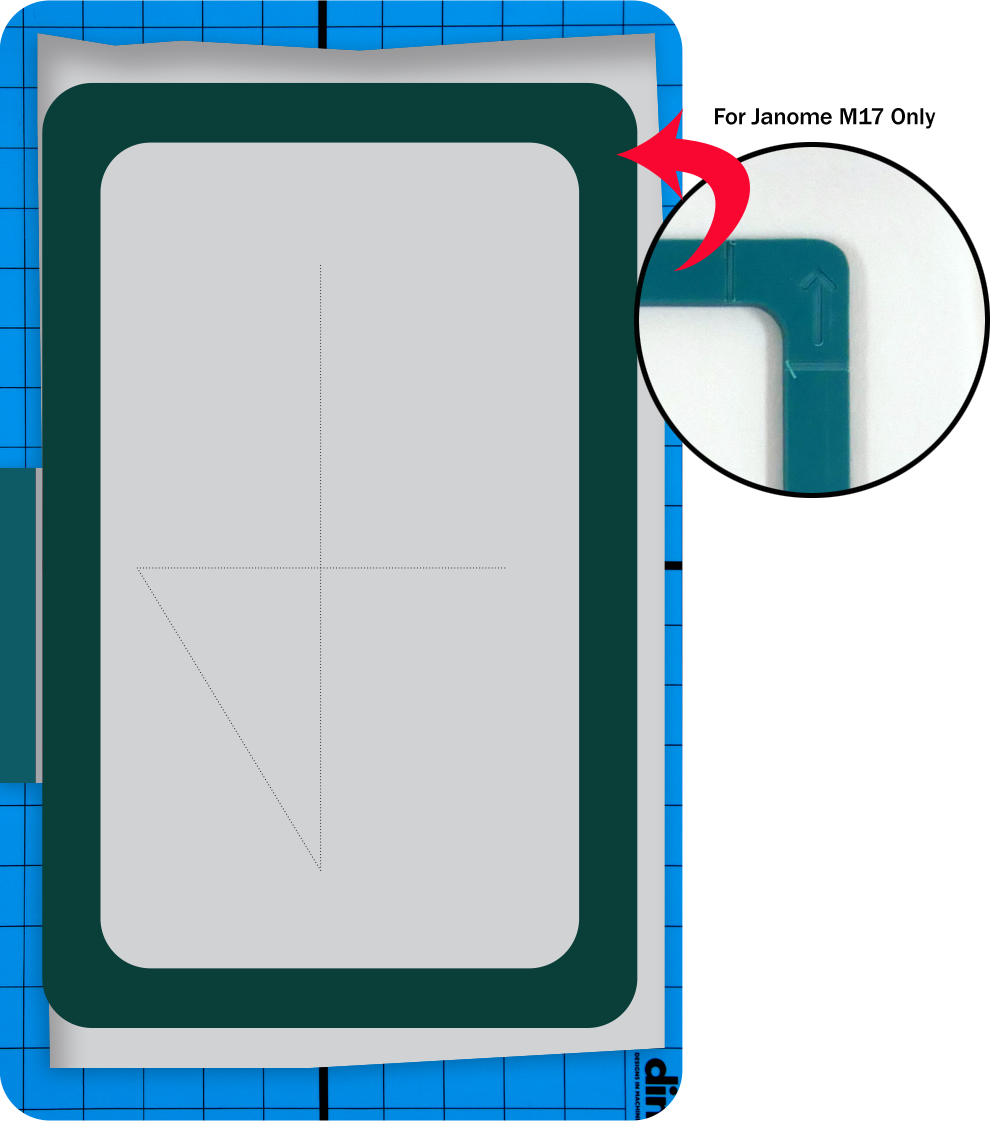
Metal Base Frame
The metal base frame is machine specific. Attach it to the arm of the embroidery machine just like a standard hoop. Once the metal base frame is installed, the embroidery machine will recognize the hoop.
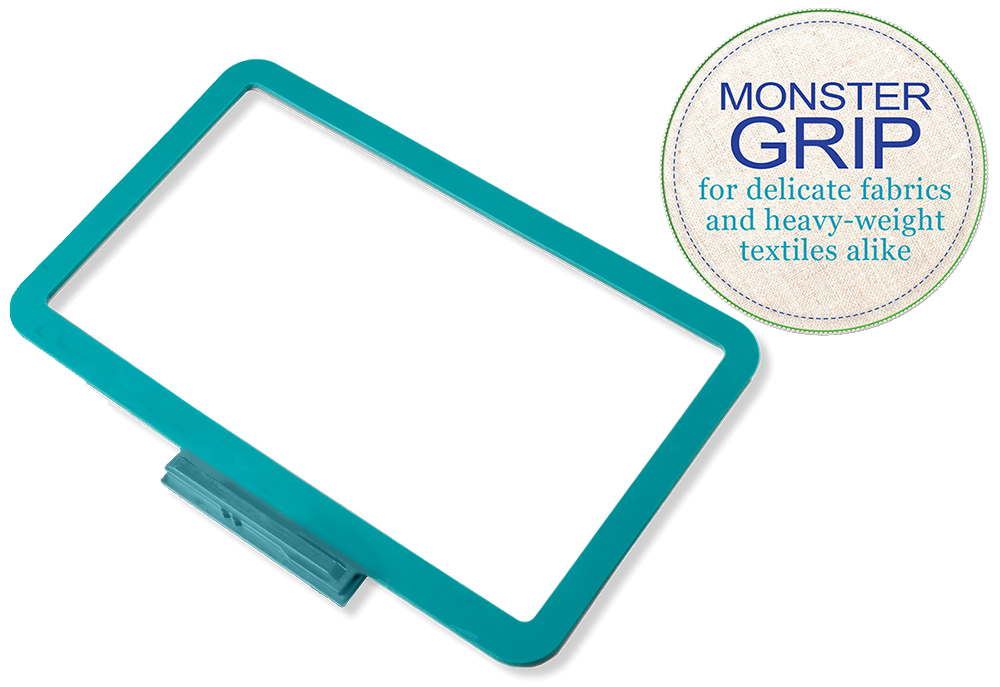
Magnetic Top Frame
The magnetic top frame has a groove on two corners to make it easy to remove once it is placed on the metal base frame.
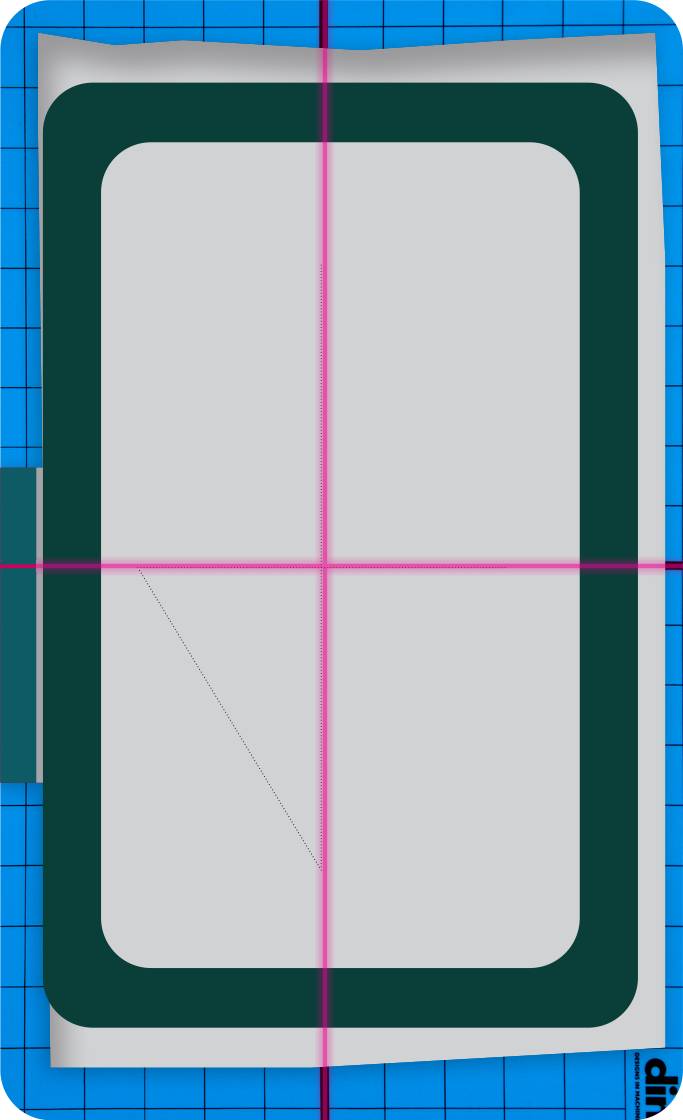
Ready for Hooping
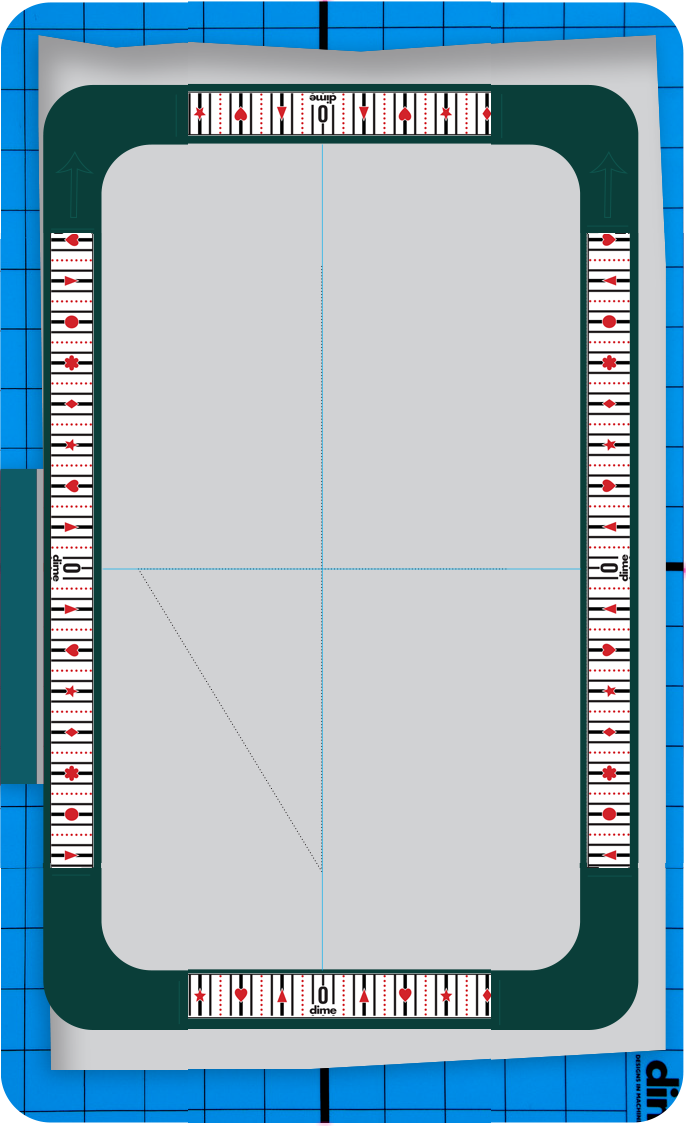
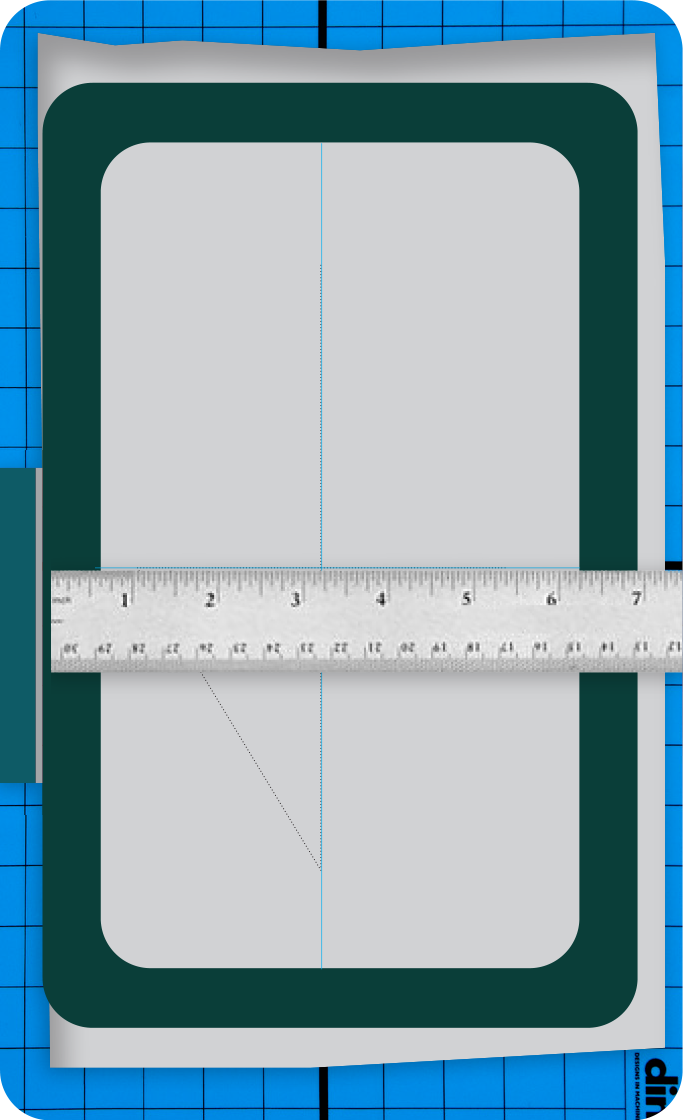
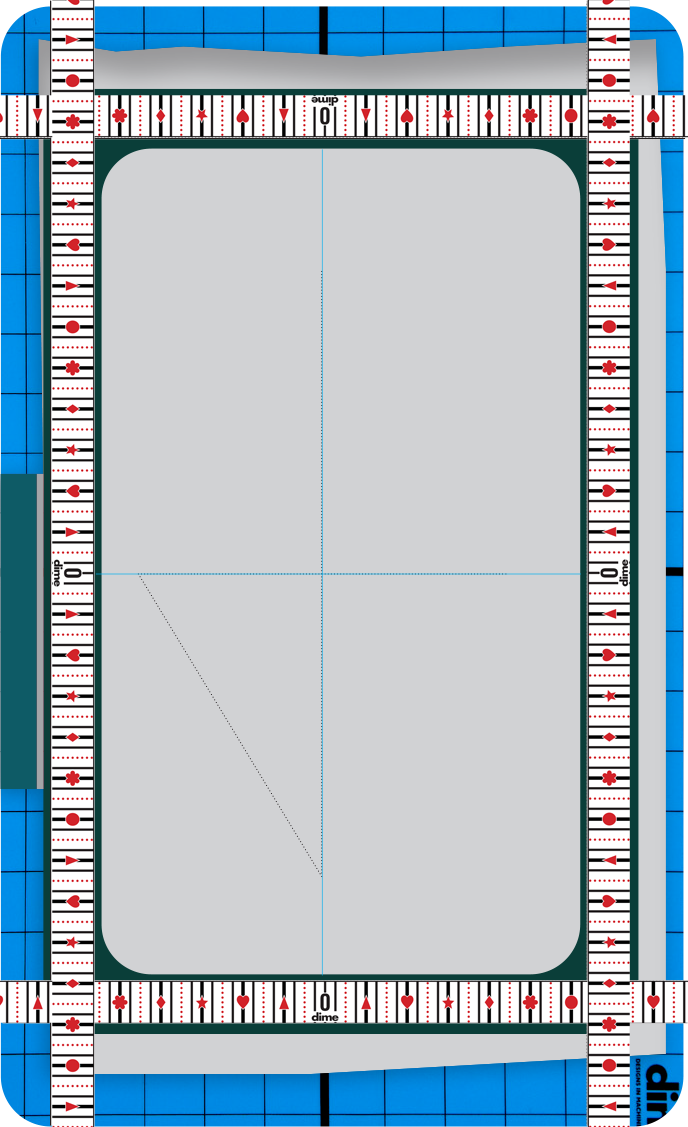
Hoop the fabric and stabilizer by centering the design area over the metal frame. Align the left edge of the magnetic top frame with the attachment on the left (keeping the frame in a vertical position). Align the top left corner of the magnetic frame with the top left corner of the metal frame.
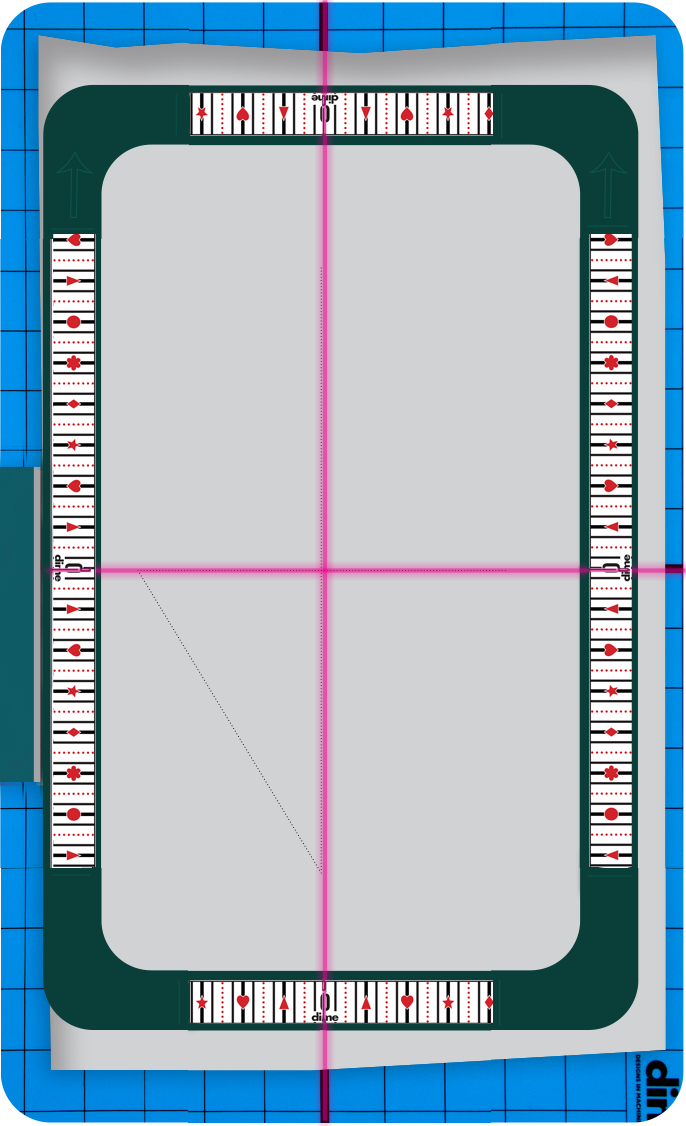
Smooth the fabric and let the magnetic frame drop down over the metal frame, capturing the fabric. Keep your fingers out of the path of the hoop! Unlike other hoops, you can tug on the fabric or garment to make sure it is flat and perfectly taut without distorting the fibers. Make sure the top and bottom frames are aligned. Feel the edges with your hand and move the top frame until it is lined up with the bottom. Attach the hoop to the machine. You may want to tug or smooth fabric again after installing the hoop on the machine. Embroider the design.
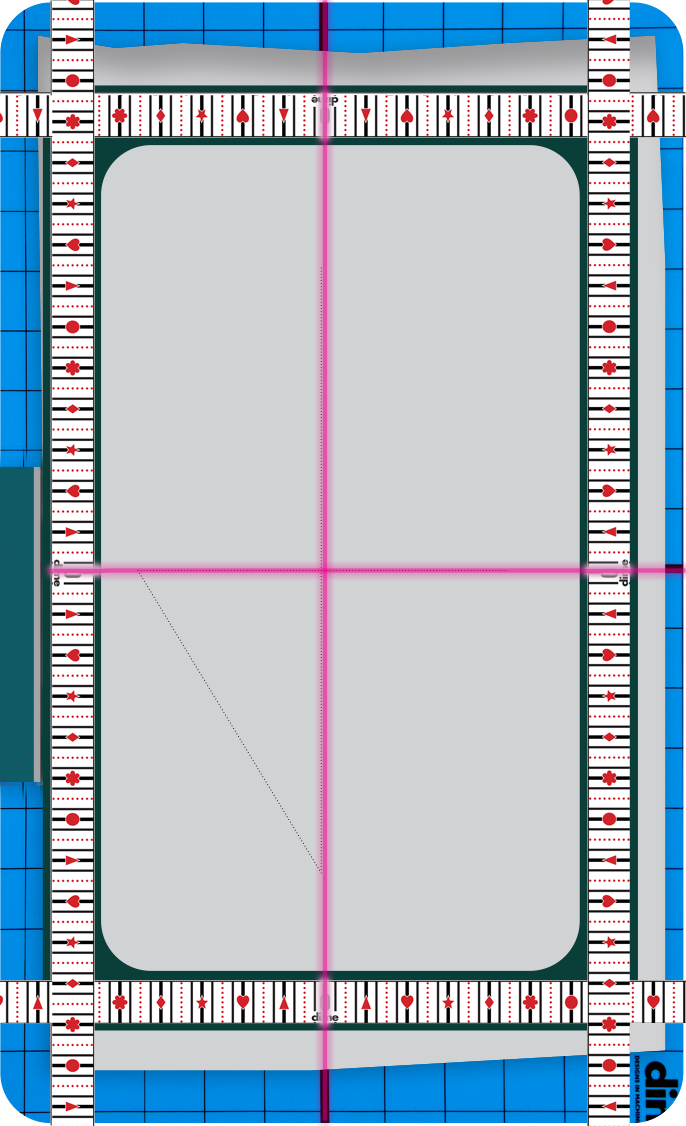
 Firmly press the guides to the frame. Trim the excess off the ends. Done!